Understanding the Interface
Let's explore the AniMathIO interface to help you navigate and use the software effectively.
Main Layout
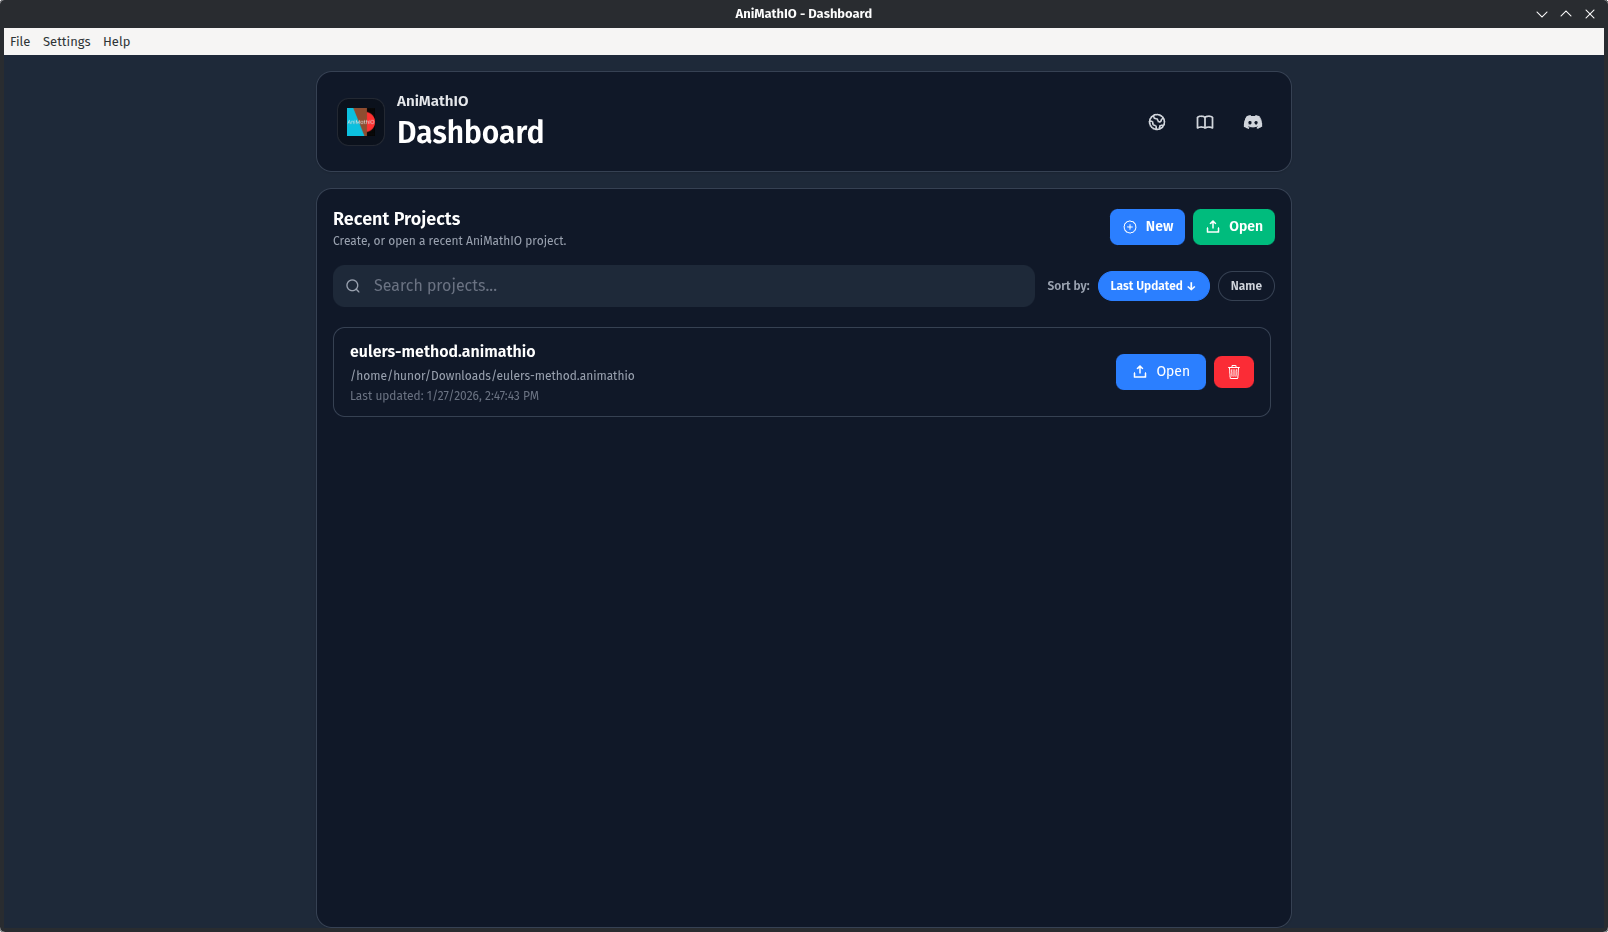
Dashboard
When you first launch AniMathIO, you'll see the dashboard where you can view recent projects, create new ones, or open existing projects. After selecting or creating a project, you'll enter the editor interface described below.
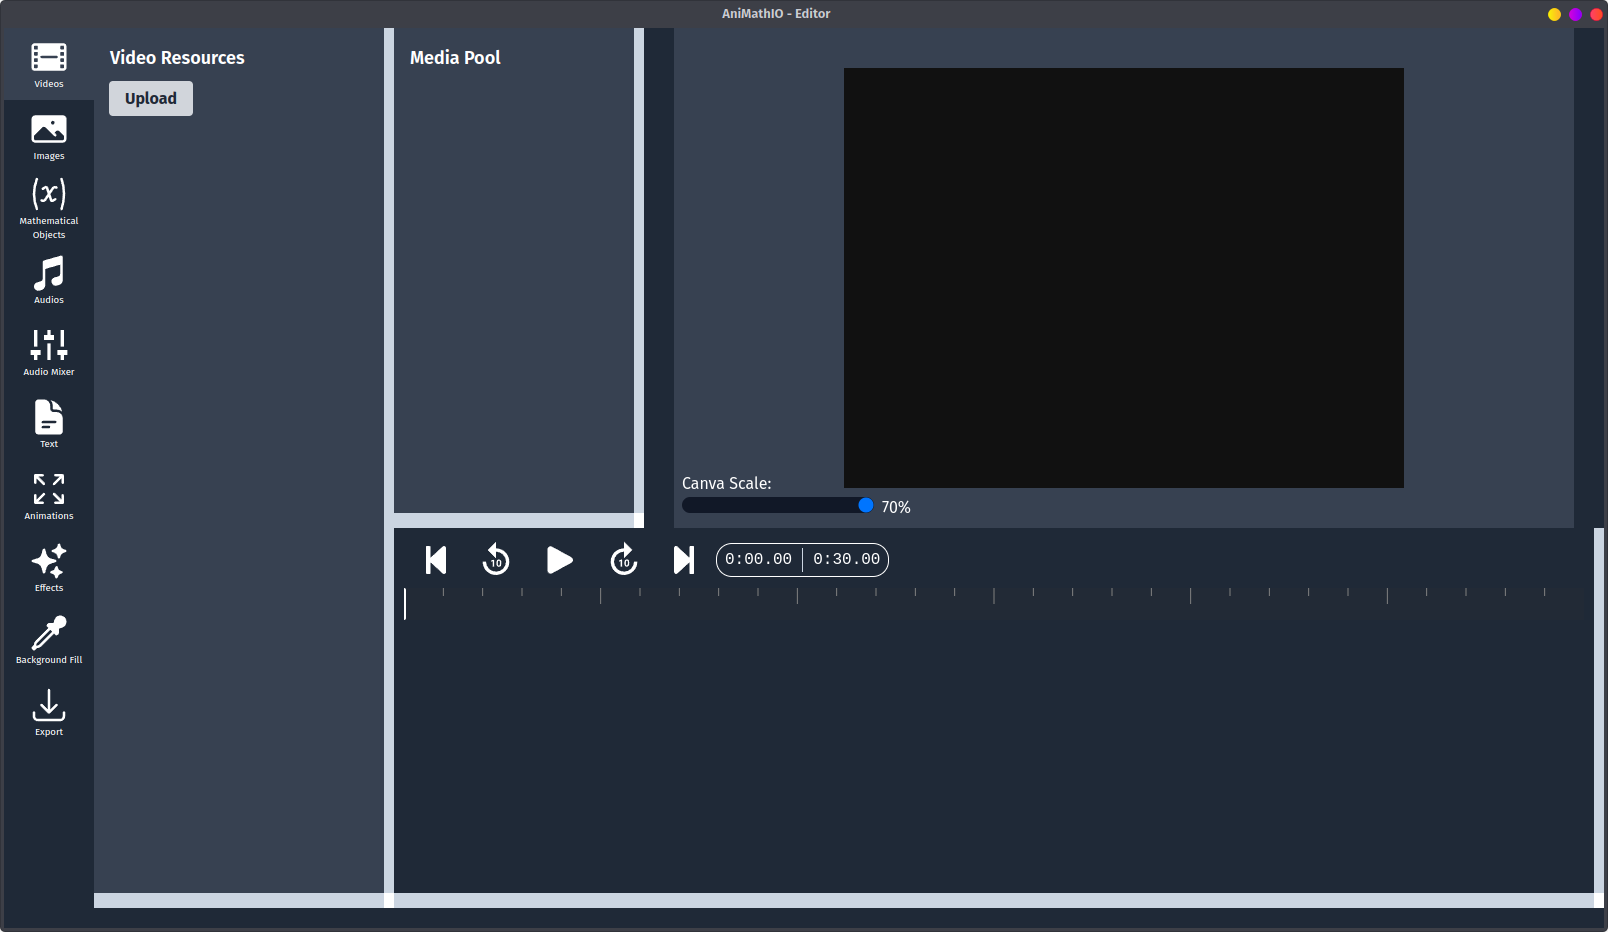
Editor Interface
AniMathIO's interface is designed with clarity and functionality in mind, divided into several key areas:
![]()
Menu Bar
- File: Quit the application
- Settings: Configure application theme, optionally you can set Gemini 2.0 Flash API key, and can view keyboard shortcuts. Your preference and API key will be saved for future sessions
- Help: From here you can access the documentation, the website and the community Discord server
Left Sidebar
The left sidebar contains all the tools and components you'll need to create your mathematical videos:
- Videos: Here you can upload and manage your videos
- Images: Import and manage your images
- Mathematical Objects: Access various mathematical components like points, lines, functions, and more
- Audios: Import and manage your audio files
- Audio Mixer: Control the volume of your audio files
- Text: Create and manage text elements
- Animations: Create and manage animations
- Effects: Apply various effects to your images and videos
- Background Fill: Customize the background color
- Export: Set video lenght, aspect ratio, format. Here you can save/save as your project or render it as a video after you're done
Secondary Left Sidebar - Media Pool
- Here you can see, and delete the active elements in your project that are also present in the canvas and the timeline
Canvas
The central area is your canvas - this is where you'll see your creation take shape:
- Drag and resize elements directly on the canvas
- You can also move the elements using the
ctrl + arrow keyskeyboard shortcut, and remove elements using thectrl + deletekeyboard shortcut
- You can also move the elements using the
- Preview how your animation will look in real-time
Timeline
The bottom section contains the timeline where you can:
- Control the timing of each element's appearance and animations
- Preview the animation in real-time, you can see where the current time is by the red indicator line
- Jump forward and backward in time using the
arrow keysor the buttons - Jump to the beginning and end of the animation using the buttons
Next Steps
Now that you're familiar with the interface, let's learn how to work with mathematical components to create your first animation.